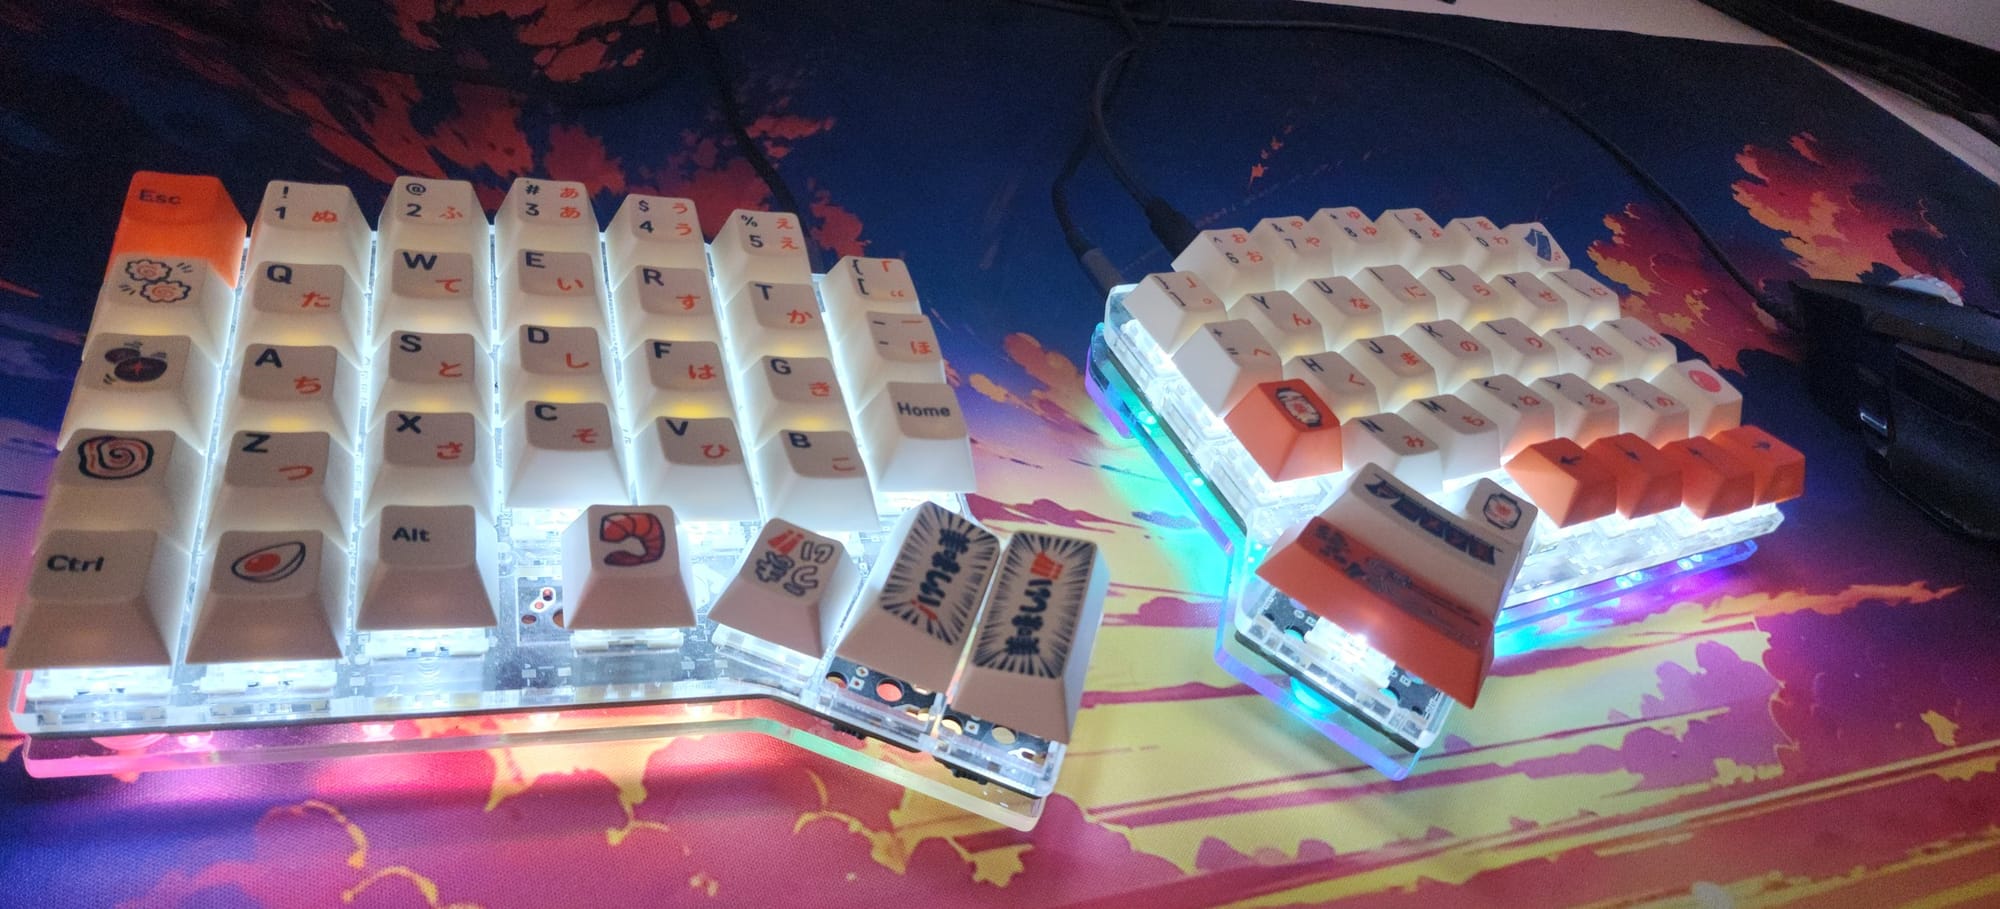
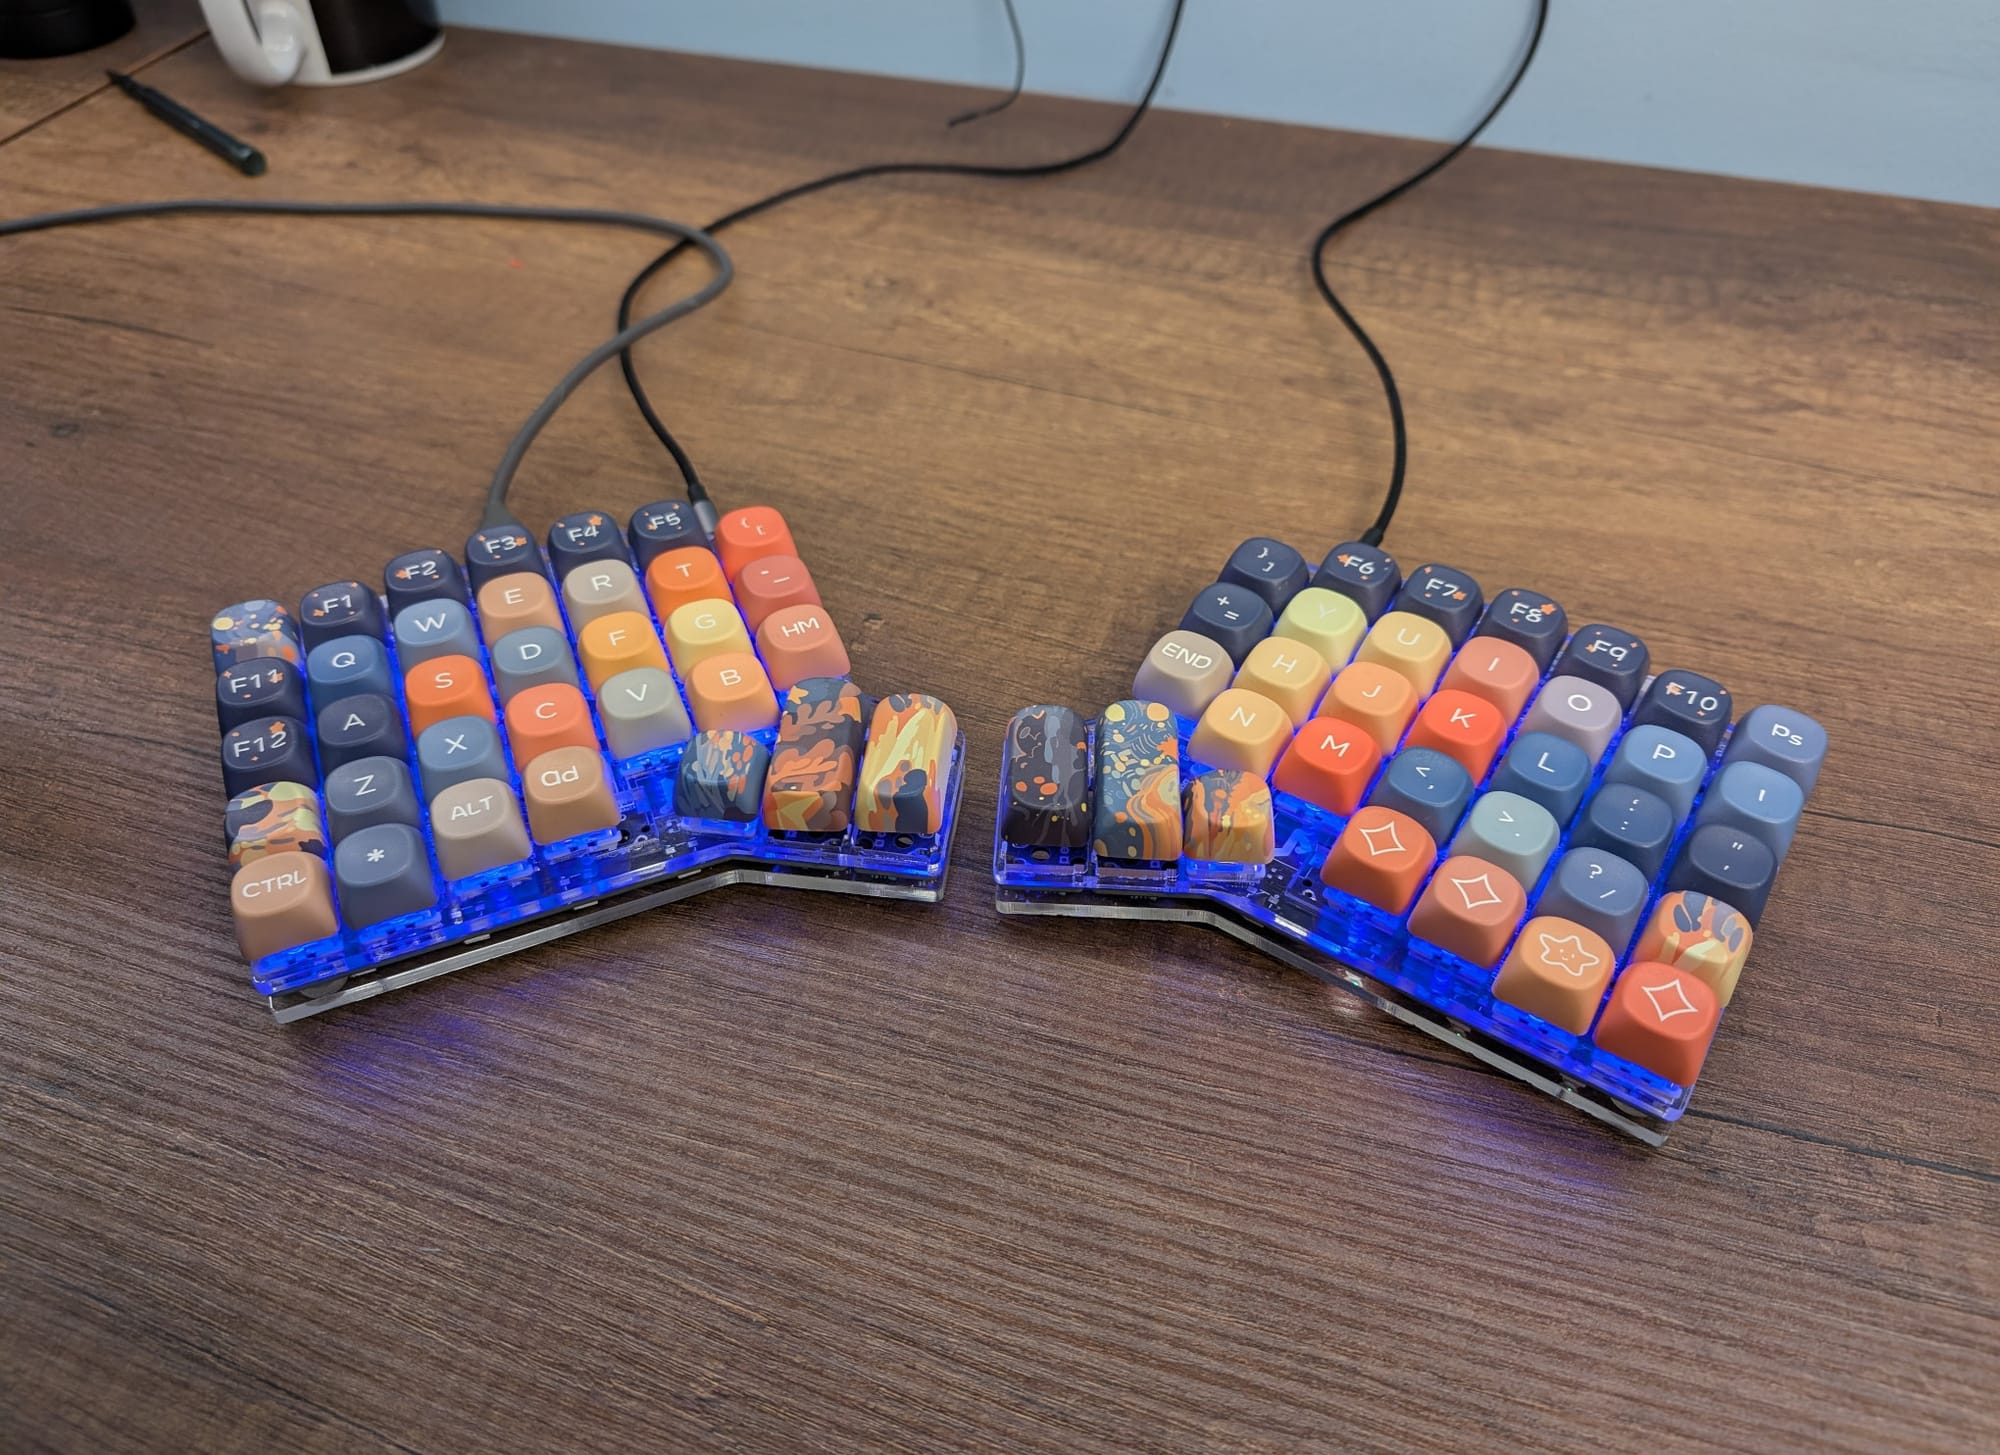
I've come across quite a few posts on the internet on how split keyboards can improve ergonomics and reduce the chance of getting RSI, and that might be true, I'm going to be honest here, i mainly built this keyboard because I wanted to for a long time and because it looks cool, and I do not think it makes sense for most people to spend this amount of money on a keyboard. nor do I think that it will be "much" of a speed/efficiency improvement, it is still a fun cool project though.
Now with that out of the way, lets talk about it.
Choosing a design - ErgoDash

"The paradox of choice: more options mean less freedom. In a world with endless possibilities, the real challenge becomes not making the right choice, but choosing at all." — a quote by someone.
There are hundreds of open-source designs on the internet, and there are even tools that help you design your own layout by placing your fingers on a tablet screen. However, it's hard to know what to look for if you've never tried a split keyboard before. The main requirements I had in mind were:
- Looks "cool"
- Had enough keys (I'm not a fan of having my main keys on separate layers)
- Column staggered key layout.
After spending many hours researching the keyboards that fit my requirements, I decided to go with the ErgoDash, a popular design that I see as a good starting point that can be improved on in the future.
Sourcing the parts

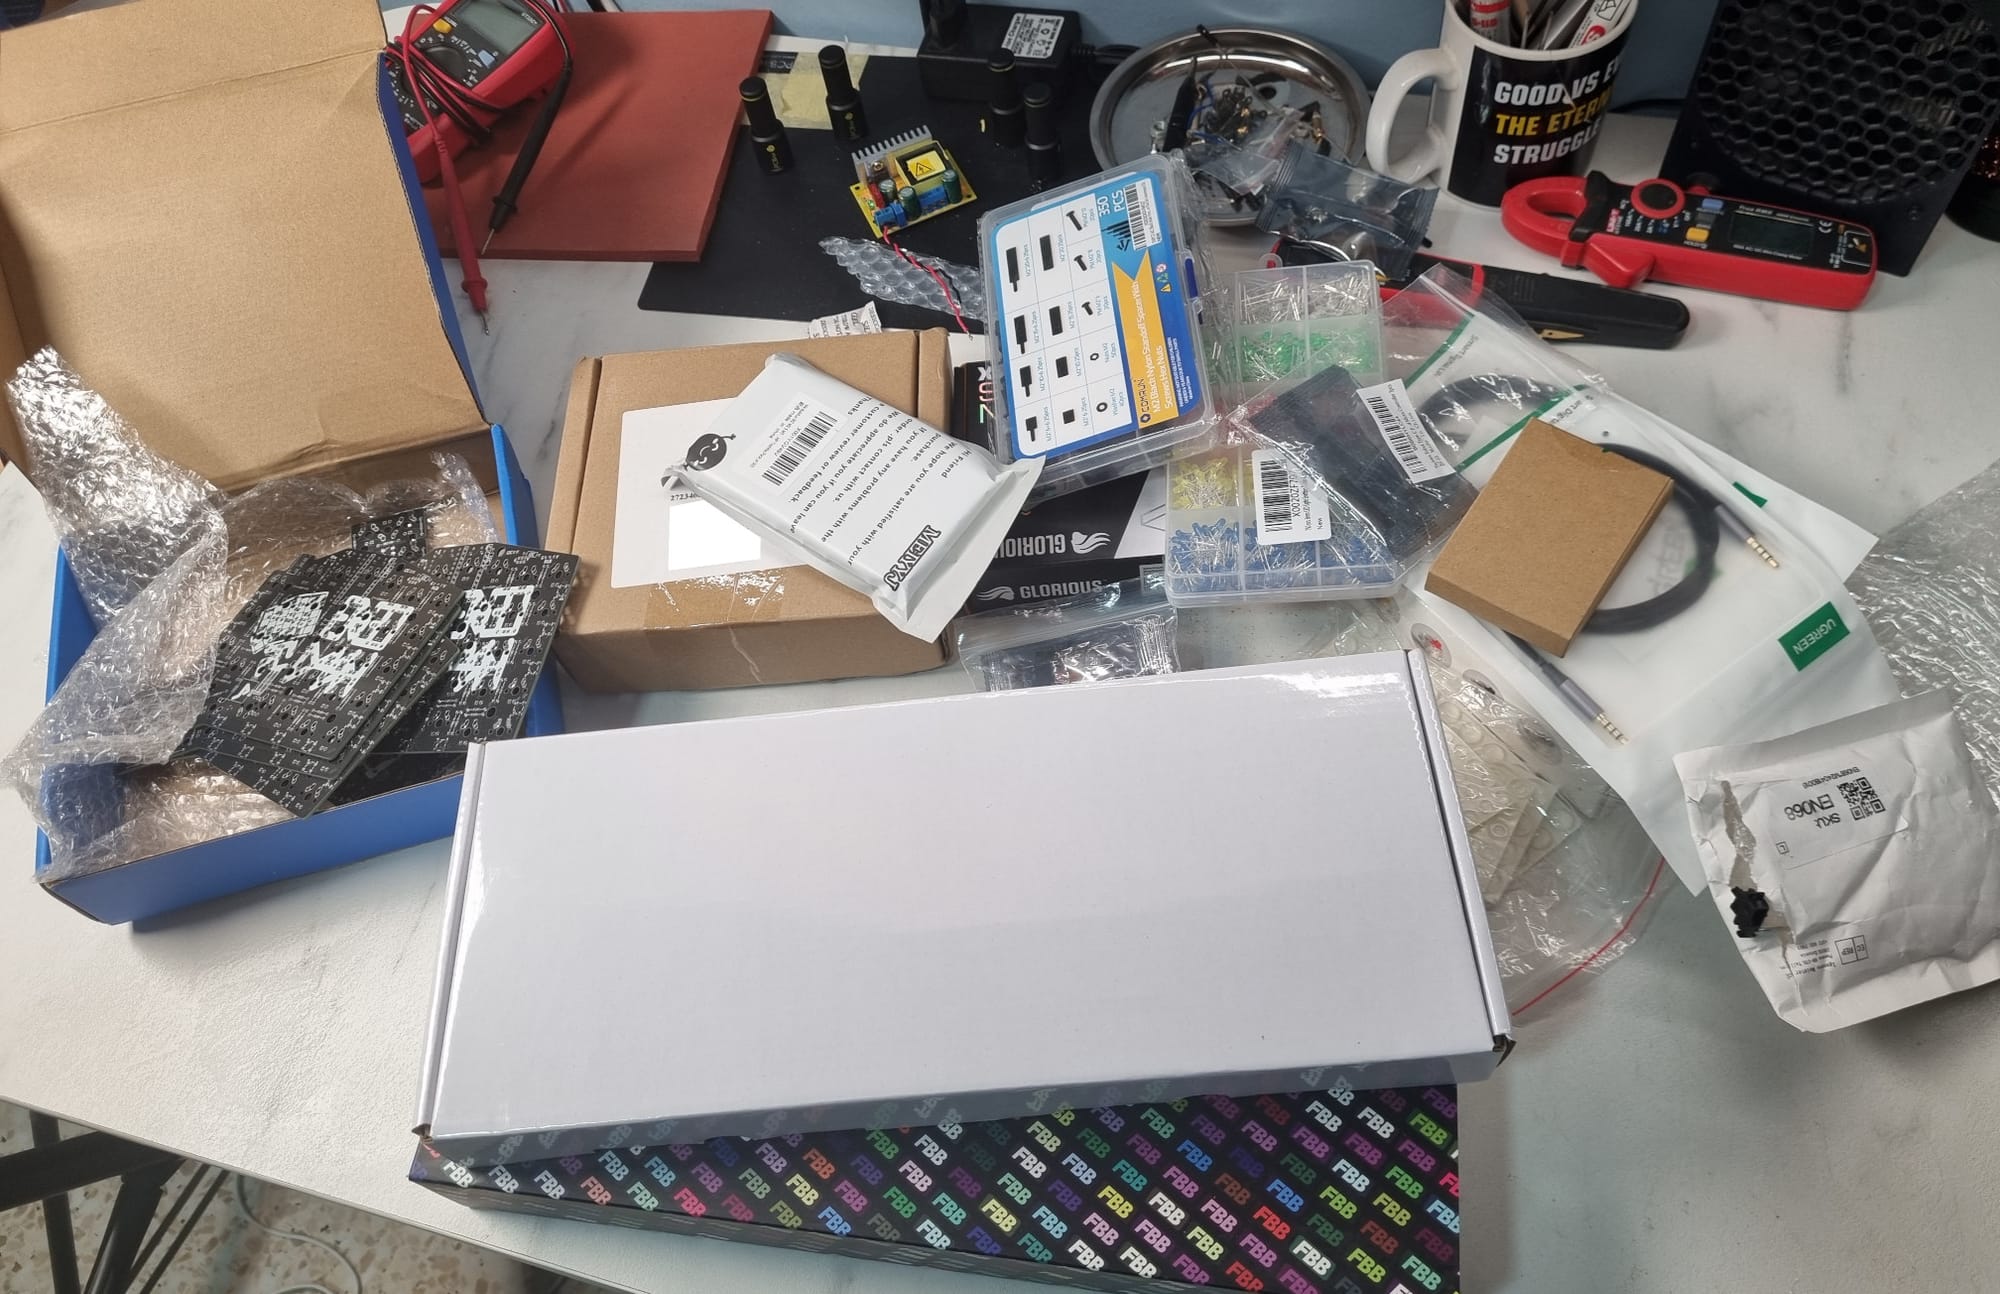
I decided to source all the parts myself instead of going with a ready-made kit. Most kits aren't complete, and you would still have to source your own key switches and keycaps (which makes sense). Overall, it turned out to cost about the same, as I ended up buying 2x of everything and saving on the shipping since I managed to drag my friend into the project as well (more on his experience later).
| Item | Source |
|---|---|
| PCBs | JLCPCB |
| Electrical Components | LCSC |
| Key caps | KBDFans |
| Acrylic Plates | Local Shop |
| Everything else | Mostly Amazon |
I chose Gateron Brown switches, which I really enjoy typing on, while my friend opted for Gateron Blues, a choice I don't particularly prefer, but one he enjoys.
The build

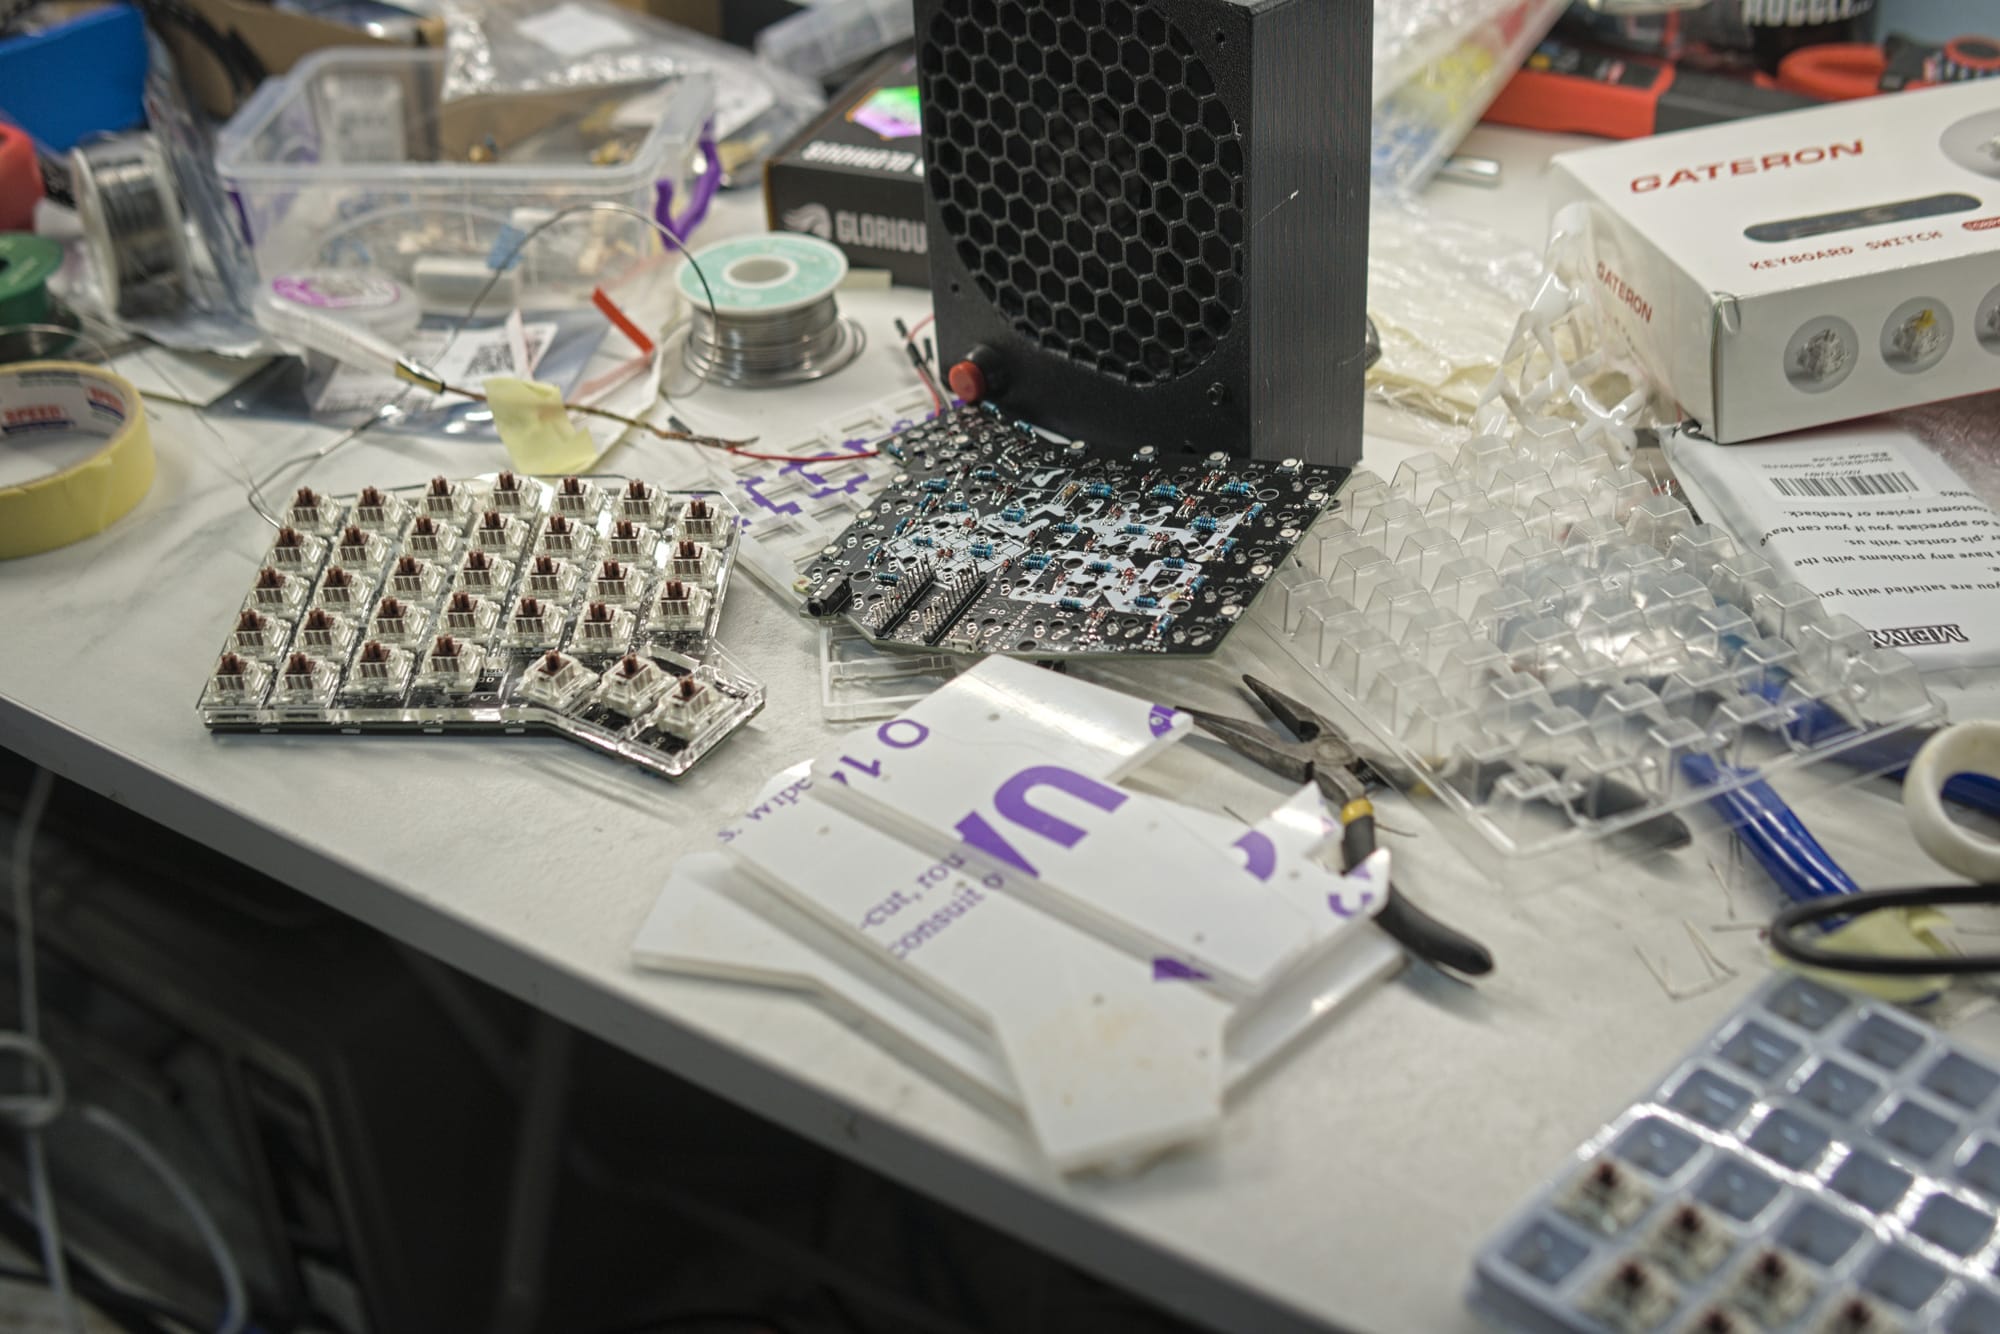
The ErgoDash has a strict order that needs to be followed, as once the plates and switches are on, you can no longer access the board. Overall, it went well; once you finish the first board, it becomes simpler. As with any other custom keyboard, it is a repetitive, long process of soldering tens of diodes, resistors, LEDs, switches, and more. It's always a good idea to buy extra of everything, as I managed to screw up one of the PCBs in the process.
I mistakenly purchased the wrong type of stabilizers, which I couldn't use on the thumb buttons. It turns out they weren't really necessary anyway. so I'm unsure how long will improving take.
The Layout and Typing Experience


Key Layout
The first thing I had to do was create a layout. I ended up modifying the default one to better suit my needs. I prefer having most of my main keys on the first layer, even if they're a little further from the home row, rather than putting them on a different layer and having to remember where they are and how to use them. I know a lot of people would disagree with me on this, since one of the main reasons people use layers is to reduce finger movement and maximize efficiency.
Column Stagger
I really liked the column-staggered layout. For someone who's trying to learn touch typing "the correct way," there's much less guessing about how much I need to tilt my finger to hit a specific key. It's mostly up and down, and it feels more natural, following the natural curve of your fingers.
Thumb Buttons
Having three thumb buttons on each hand seems like a good balance, and they’re really useful. I’ve got mine mapped to Enter, Shift, Backspace, and Delete, along with the layer buttons. There are definitely more buttons I'd like easy access to with my thumbs, but I feel like adding more would just make things confusing.
Special Characters
As a programmer, I often need to use brackets, math operators, and other symbols, and I still haven't figured out the best way to set them up. Their current position feels a bit awkward, and I find myself looking down sometimes.
I’m thinking of moving all the special characters to their own layer and making them as accessible as possible, but I’m not sure how much of a learning curve that would involve, which brings us to the next point.
The Learning Curve & Speed
I’m definitely slower using this keyboard, but I’d say with enough practice, I could improve, match, and even surpass my regular typing speed on a normal keyboard. It really comes down to two things:
- Using the correct fingers. I realized my finger placement is all over the place—like, I use my right middle finger to hit the letter "T" and barely use my right index finger at all.
- Remembering where characters are when they're not on the main layer or when they’re in different positions (e.g., brackets and slashes).
The problem is, using it slows me down enough that it becomes a hassle during work, so I haven’t been using it as my main keyboard. I only pull it out when I’m not on a deadline or just for casual use.
My Friend's Experience

My friend also built a pair for himself, and I asked him to share his thoughts on it. Here’s what he had to say:
It was challengingly entertaining. Normally, I didn't have to think when typing on a keyboard, but now I did, and being conscious about it allowed me to avoid building bad habits. Aside from the fact that it was fun to build.
I didn't improve my typing speed or efficiency, but overall it has been more fun to use.
Noting that my friend does use the keyboard as his main keyboard (he's also a programmer).
What would i do differently next time ?
I don’t think I’ll be building another keyboard anytime soon, but if I did, here’s what I’d change:
- Choose a design with hot-swappable keys. Don’t get me wrong, I love the brown switches, but having the ability to swap them out would be great.
- Use a microcontroller with wireless capabilities.
- Use 1.5U or 2U buttons for the edge keys (Ctrl, Tab, etc.). I really disliked how small they were.
That’s more or less it! If you have any thoughts, feel free to share them in the comments.
